Uploading Files to Azure using Azure Node SDK
Mastering File Uploads to Azure: A Beginner-Friendly Guide with Node.js

I am a Blockchain and MERN stack developer. While building real-life application based full-stack projects, I also like to connect and network with different types of people to learn more from them.
Hello everyone! I hope you're all doing well.
Introduction-
Recently, I found myself in need of a simple solution for uploading and storing files as part of my full-stack journey. After some Google searching, I came across various options like Cloudinary, Google Drive, Amazon S3 Bucket, MongoDB, Azure etc. Since my organization had credits on Azure, I was told to explore it further. However, finding a straightforward resource explaining file upload to Azure using Node.js proved challenging. While there are resources for other technologies like .NET, the official Microsoft documentation for Azure in Node.js wasn't quite helpful. Determined to make the process easier for others, I started implementing file uploads to Azure using Node.js and encountered several errors and challenges. In this blog, I'll guide you through using the Azure Node.js SDK to simplify the implementation.
Prerequisites-
All you need is a basic understanding of JavaScript and Node.js to follow along.
Tech Used-
Next.js for the Frontend
Node.js for the Backend
azure/storage-blob for uploading files to Azure
Starting Out-
There are various ways to store files in Azure:
Containers
Tables
Queues
File Shares
Start by creating an account on Azure. If you encounter any issues, there are plenty of YouTube videos guiding you through the account creation process.
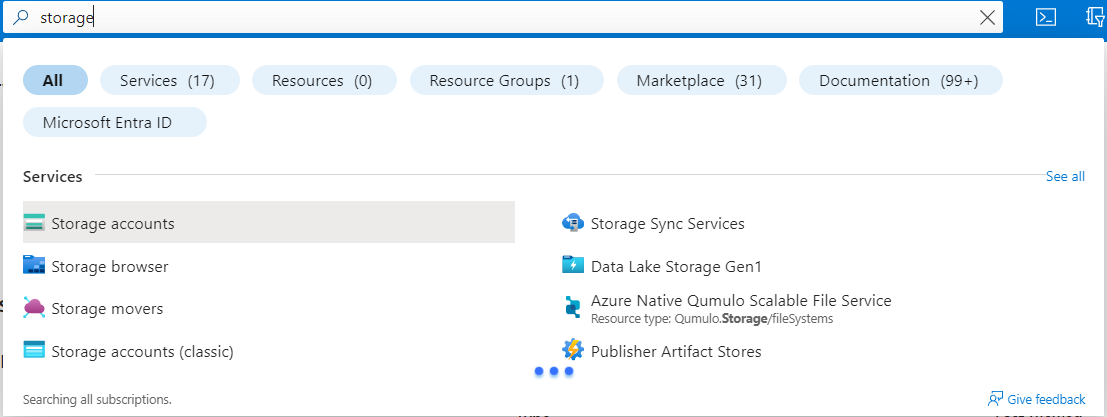
After account creation, navigate to Home and search for 'Storage' in the search bar, then select 'Storage Accounts.'
In the Basics section, provide a name for your storage account and fill in the necessary details.
In the Advanced section, configure the settings as shown below. These settings are crucial for future use.
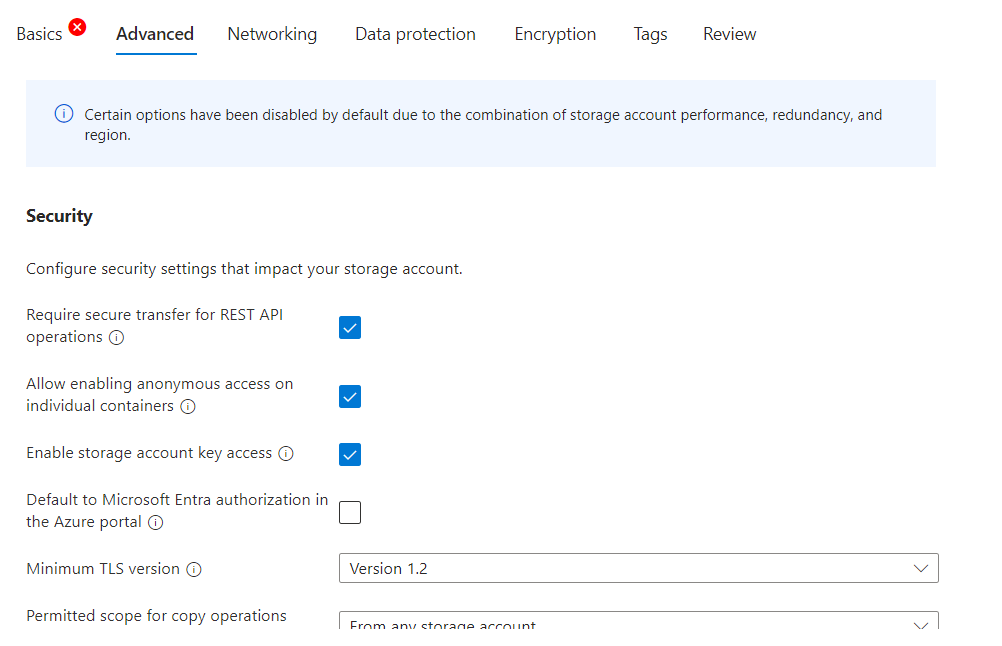
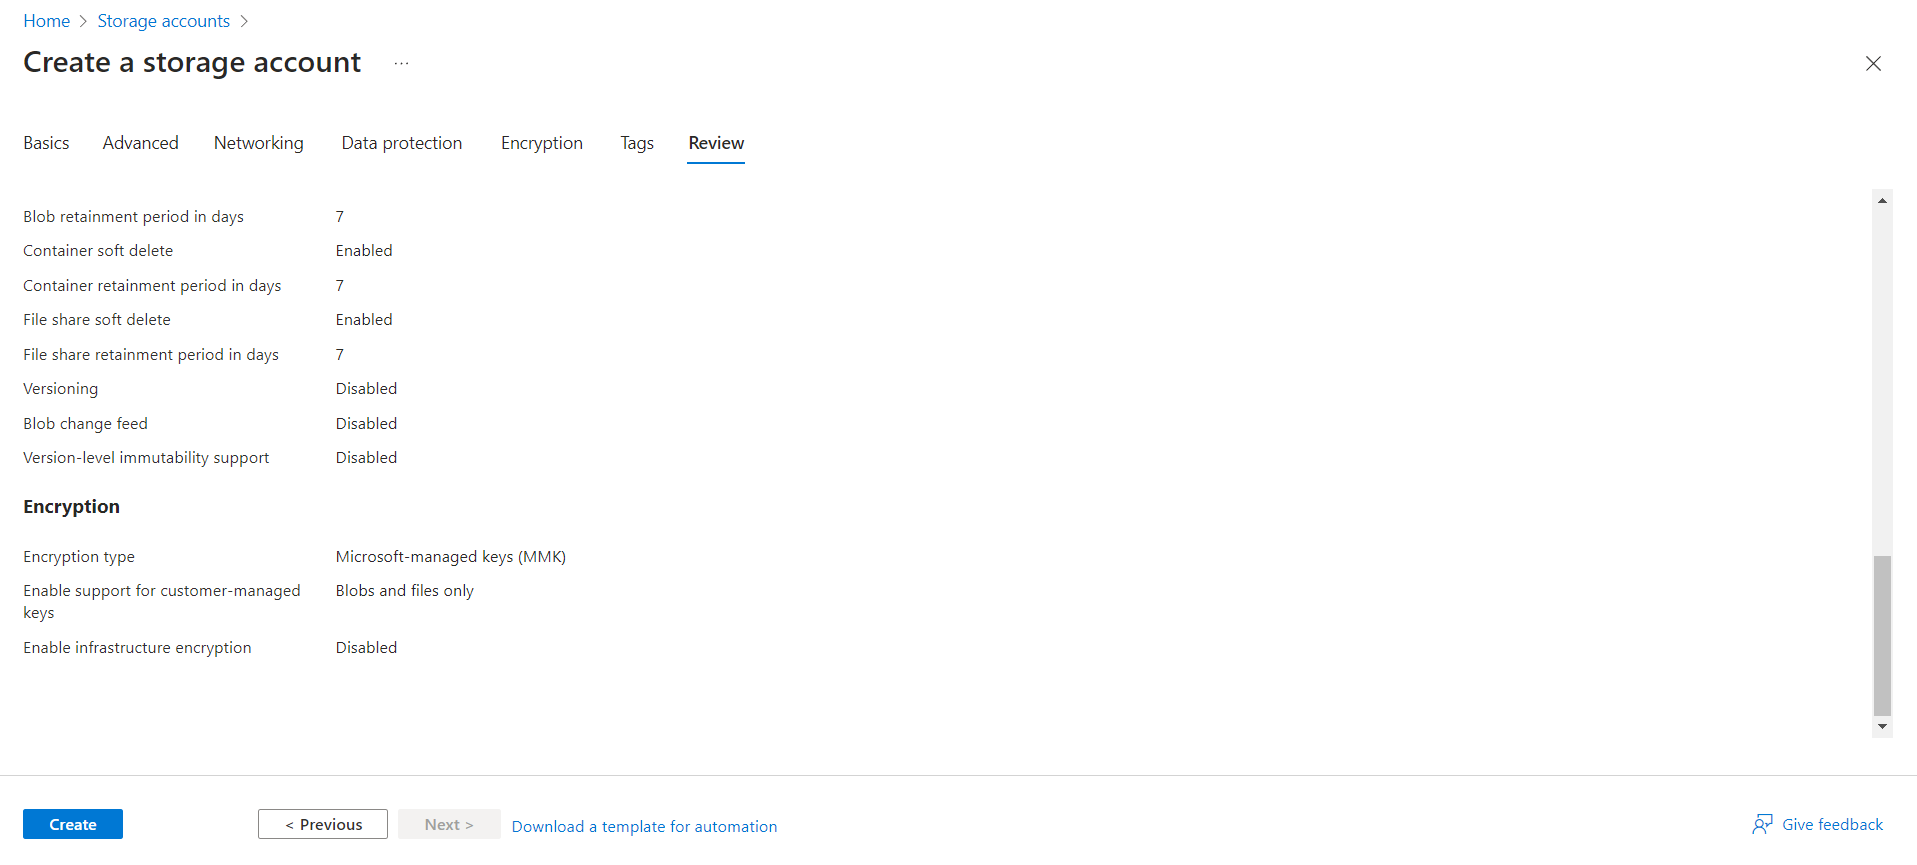
Now click on Create button to create your Azure Storage Account.
Containers-
We'll focus on using containers for storing files in Azure. Think of a container as a parent folder where all files are sorted. You can create new containers for each project. Select your storage account and click on 'Container.' Create a container, give it a name, and select the configuration as mentioned below-

Choose the Anonymous access level as 'Container' so that you can use the file URL for future fetching/downloading.
Azure Node SDK-
Now, let's get into the coding part. We'll be using @azure/storage-blob, the official Azure Node.js SDK.
Run npm i @azure/storage-blob to install the necessary package.
Initializing the Azure Client-
import { BlobServiceClient, StorageSharedKeyCredential } from "@azure/storage-blob";

const azure_blob_container_name = process.env.AZURE_BLOB_CONTAINER_NAME ;

const account = process.env.AZURE_STORAGE_ACCOUNT_NAME ;
const accountKey= process.env.AZURE_STORAGE_ACCOUNT_KEY ;
const sharedKeyCredential = new StorageSharedKeyCredential(account, accountKey);
const azureBlobServiceClient = new BlobServiceClient(
    `https://${account}.blob.core.windows.net`,
    sharedKeyCredential
);
Uploading Files-
In Next.JS from frontend you can send the file to backend by this way
 const data = new FormData();
  data.set("file", file);
  const response = await fetch("/api/upload-azure", {
            method: "POST",
            body: data
});
In Backend you can receive the file like this -
  export async function validateRequest(request: NextRequest): Promise<{ user: User, file: File, folderId: string }> {
      const data = await request.formData()
      const file: File | null = data.get('file') as unknown as File
      return { file};
  }
Now for uploading files -
export async function uploadFileToAzure(file: File): Promise<string> {
    // Convert file to buffer
    const bytes = await file.arrayBuffer()
    const buffer = Buffer.from(bytes)

    // Upload file to Azure blob storage
    const containerClient = azureBlobServiceClient.getContainerClient(azure_blob_container_name);

    const fileName: string = `${file.name}_${new Date().getTime()}`;
    const blockBlobClient = containerClient.getBlockBlobClient(fileName);

    const response1 = await blockBlobClient.uploadData(buffer, {
        blobHTTPHeaders: {
            blobContentType: 'application/pdf',
        },
    });
    if (!response1) throw new Error("Error while uploading file to azure")

    return fileName;
}
After uploading you can check the uploaded files inside your azure container.
Deleting Files-
async function deleteBlob(blobName) {
    const containerClient = blobServiceClient.getContainerClient(azure_blob_container_name);
    const blobClient = containerClient.getBlobClient(blobName);

    try {
      // Delete the blob
      await blobClient.delete();
      console.log(`Blob "${blobName}" deleted successfully`);
    } catch (error) {
      console.error(`Error deleting blob "${blobName}":`, error.message);
    }
  }
Implementing this approach gives you full control over CRUD operations in Azure.
Summary-
For any queries you can reach out to-
LinkedIn - https://www.linkedin.com/in/abir-dutta-408759223/
Twitter - https://twitter.com/ItsDutta99
GitHub - https://github.com/DeadmanAbir


